Entre la infinidad de usos que podemos darle al ESP8266 esta el convertirlo en una Webradio, radio para reproducir emisoras de internet.
La radio se basa en el proyecto de Ka-Radio realizado por karawin (hay mas información en instructables y hackaday), tras grabar su código el ESP8266 permitirá las siguientes funcionalidades:
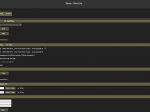
- Interfaz web de configuración con las funciones:
- Control de reproducción con botones para anterior y siguiente emisora, reproducir, parar y ajuste de volumen.
- Información detallada de la emisora en reproducción.
- Reproducción de la emisora directamente desde el PC.
- Función de auto desconexión y auto conexión en los minutos establecidos.
- Reproducción directa de emisoras sin tenerlas que guardar en el listado de emisoras.
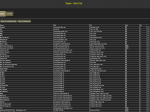
- Memoria para 256 emisoras de radio, cada una con nivel de audio personalizable.
- Función de exportar e importar la lista de emisoras a un / desde un fichero de texto.
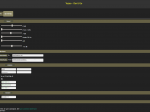
- Función de ecualizador.
- Permite configurar dos redes WiFi, si la primera falla usa la segunda, si las dos fallan crea una red WiFi con la IP 192.168.4.1 para configurar la conexión a internet desde el móvil conectándonos directamente a la radio.
- Permite actualizaciones automáticas por OTA para recibir nuevas mejoras sin necesidad de PC.
- Posibilidad de controlar la reproducción mediante una botonera o infrarrojos.
- Posibilidad de conectar una pantalla (con ayuda de un Arduino).
Este es el historial completo de cambios desde versión actual 1.1.7+ hasta la primera:
|
1 2 3 4 5 6 7 8 9 10 11 12 13 14 15 16 17 18 19 20 21 22 23 24 25 26 27 28 29 30 31 32 33 34 35 36 37 38 39 40 41 42 43 44 45 46 47 48 49 50 51 52 53 54 55 56 57 58 59 60 61 62 63 64 65 66 67 68 69 70 71 72 73 74 75 76 77 78 79 80 81 82 83 84 85 86 87 88 |
Release 1.1.7+ - Now Both AP SSID and AP Password are encoded to permit special characters like & : etc - "Restore stations" corrected for some heavy lists - Station information now gives the number of the current station - retry client connection modified to avoid blocking situation. - (1.1.7+) Volume offset on playlist was not working. Release 1.1.6 - Modification of the list of uart command. See uart and html interfaces - New sys.patch command. Inhibit or permit (default) the load of a vs1053 patch for AAC stations. - New sys.led command. Default is blinking mode, or Play mode: the led is on when a station is playing. - Modification of the wifi.con command. Now the AP can be set in the AP mode (192.168.4.1) without the need of the web interface. - New print button on the Stations panel: Print the list of stations, number and name. - New logo ;-) Release 1.1.5 - Modification of the list of uart command. See uart and html interfaces - New IR and LCD software - Autoplay corrected - Many bugs removed thanks to users feedback's. Release 1.1.4 - Now 2 AP's can be set. The second one will be tested if the first is not detected. - The Mac address of the radio is displayed - An offset volume can be set for each station in Station editor. - Pb on Autostart not correctly checked: corrected - Added: a reset button for the equalizer - Added a new uart command: cli.boot Release 1.1.3 - New html command: instant="http://your url" - The path of a station can now include some & parameters. Release 1.1.2 - uart command list now can take a parameter: the number of the station to display. .If no parameter, the complete list is sent. - New wake and sleep features. Two modes: Time mode: "hh:mm" to wake or sleep at a given hour, or the delay mode "mm". - Many minors html adjustments. - Many bugs removed thanks to users feedback's. Release 1.1.1 - The user agent for http request can be set for some special streams. Example: http://pcradio.ru/player/listradio/pcradio_ru.xml which need a user agent= pcradio. This pcradio user agent is already implemented automatically in the code when a pcradio station is encountered. - Better station start and stop. (no more strange noises). - Many bugs removed thanks to users feedback's. Release 1.1.0 - Drag an drop on the stations list: rearrange the list by dragging a line to another one. Save the change when asked. - Themes toggle between light blue and dark marron theme with a click on the logo. - Sleep mode to stop the play after a delay. - Functions on the web page are optimized. - Many minor improvements on the code and the web page. Release 1.0.10 - New uart interface command: cli.uart("x") With x the uart baudrate at the next reset and permanently. List of valid baudrate: 1200, 2400, 4800, 9600, 14400, 19200, 28800, 38400, 57600, 76880, 115200, 230400 The command will reply with ##CLI.UART= 115200# on the next reset. - New Station selection with number - Stations management in one page - abort button on station edition. Corrected: - The I2S interface was not working. Thanks Discover1977 for the test Release 1.0.9 - New html interface see uart and html interfaces - New I2S external DAC interface on the vs1053. The I2S is enabled by default to 48kHz. To change the speed permanently use the uart interface with the command cli.i2s("x") with x =0 for 48kHz, x=1 for 96kHz and x=2 for 192kHz The i2s interface is available on the alientek vs1053 with i2s_sclk on SCLK (GPIO16), i2s_sdata on SDIN (GPIO07), i2s_mclk on MCLK (GPIO05), i2s_lrout on LRCK (GPIO04). - New Autostart: If autoplay is checked on the web interface, the current station is started at power on even with no web browser. Release 1.0.8 - Corrected: Some chunked html stations was wrong. If no metadata, the station name is displayed in place A station not found is indicated in the name on the web interface Release 1.0.7 - Corrected: The webstation lists was wrong on empty station. Release 1.0.6 - New sdk patch from Espressif see http://bbs.espressif.com/viewtopic.php?f=46&t=2349 - Now the maximum number of stations is 256 - Detection of external ram is working. If your chip has a /Vhold in place of /VBAT, the pin 7 must be wired to VCC (pin8) - Save stations from... now working with the right filename for edge browser - The AP Password field is masked. - Increased spi clock for external ram |
Por parte del hardware es necesario como mínimo los siguientes materiales:
En mi caso para la construcción de la radio, que además de ofrecer la reproducción de emisoras también permite reproducir música por Bluetooth, es necesario:
- Caja de madera
- Tela negra para altavoz, link1, link2
- NodeMcu V3 CP2102
- DAC VS1053
- Receptor Bluetooth 4.0 y amplificador de audio 2x3W
- Dos altavoces 2″ 4Ω 12~15W
- Un altavoz pasivo para los bajos
- Batería Xiaomi 5A
- Modulo MicroUSB
- Módulos LED
- Interruptores
- Pulsadores + embellecedores
- PCBs de prototipado
- 7 resistencias de 1K y 1 de 16K para la botonera.
- Tres cables USB-MicroUSB
- Cables
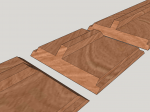
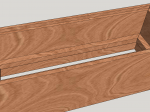
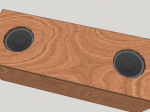
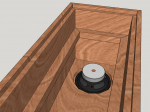
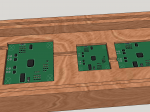
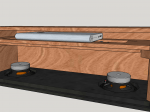
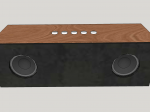
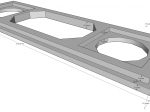
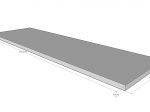
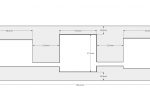
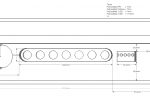
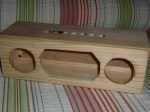
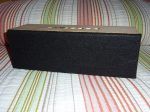
En cuanto a la caja de madera primero la diseñe en 3D colocando todas las piezas en ella para posteriormente imprimir los planos para su construcción:
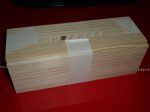
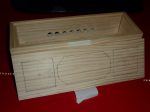
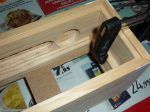
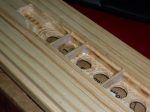
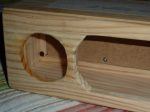
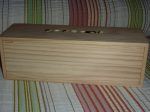
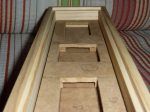
Como para obtener un buen resultado en al construcción hace falta una mesa de trabajo y herramientas como una sierra de disco, taladro de columna, etc. y no disponía de ello alquile una mesa de trabajo en Bricosca, una carpintería que dispone de ese servicio, ahí me fabrique todas las piezas a medida.
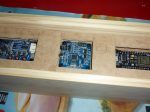
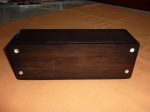
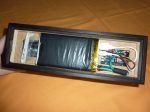
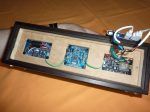
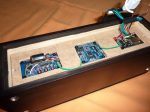
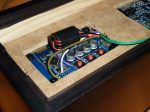
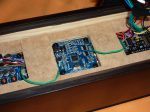
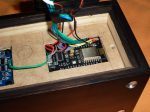
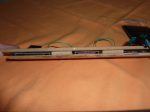
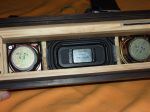
Una vez con todas las piezas ya solo quedaba montarlo, la parte de carpintería fue fácil pues ya estaba todo pensado, pero la cableada llevo un buen rato para que quedara todo limpio y bien ordenado, así es como quedo:
Como puede verse la unión del panel eléctrico con la parte inferior se hace con unos conectores, por lo que se puede desmontar fácilmente en caso de ser necesario como por ejemplo para cambiar los altavoces los cuales van atornillados por dentro, remplazar la batería, o para futuras ampliaciones o mejoras.
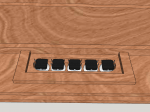
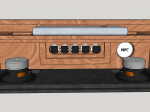
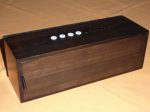
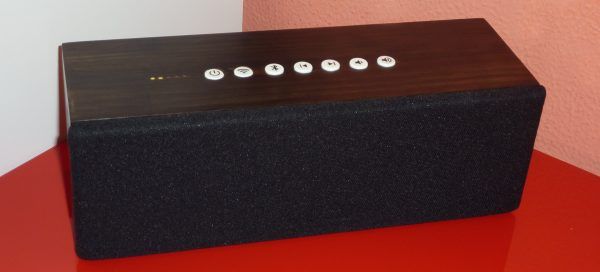
En cuanto a su funcionamiento dispone de 2 interruptores y 5 pulsadores, de izquierda a derecha la función de cada uno de ellos es la siguiente:
- Enciende o apaga el altavoz (interruptor)
- Enciende o apaga la función de radio (ESP8266 y VS1053) (interruptor)
- Enciende, apaga o activa el emparejamiento del modulo Bluetooth
- Canción anterior de la radio
- Canción siguiente de la radio
- Baja el volumen de la radio
- Aumenta el volumen de la radio
A la izquierda de los botones hay 5 indicadores led, los cuatro primeros se corresponden a los indicadores de la batería Xiaomi que tiene la radio por lo que indican si hay consumo y en caso de haberlo indican el porcentaje de batería restante: 0, 25, 50 y 100%. El quinto led se encarga de indicar el estado del Bluetooth: encendido, apagado o en modo emparejamiento. A la derecha de los botones hay un hueco para colocar un tag NFC que permita que un móvil con NFC se empareje al Bluetooth, previa activación del emparejamiento.
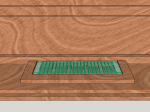
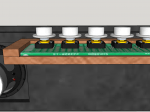
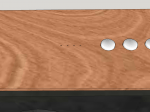
[notification type=»alert-info» close=»false» ]Actualización 2017/04/25:[/notification]Ahora con todos los botones en blanco y con icono:







Hola, he intentado montarla pero el los manuales que muestras aparecen otras nomenclaturas para las patillas del VS1053 .¿Alguna solución?
Hola Luis,
Las nomenclaturas son correctas pero aparecen acortadas, por ejemplo MOSI de la placa corresponde con SI de la documentación, lo mismo para MISO como SO, etc.
https://cdn.instructables.com/F6C/NK0L/ITAFBB8Y/F6CNK0LITAFBB8Y.MEDIUM.jpg
RST (XRST) -> D3
DREQ -> D2
SO (MISO) ->D6
SI (MOSI) -> D7
SCK -> D5
WDCS (XDCS) -> D1
XCS -> D8
3.3V -> 3.3V
GND -> GND
Saludos.
Muchísimas gracias!!!
Hola luis me interesa hacer esa radio para mi padre que es invidente sube el video de como hacerlo gracias